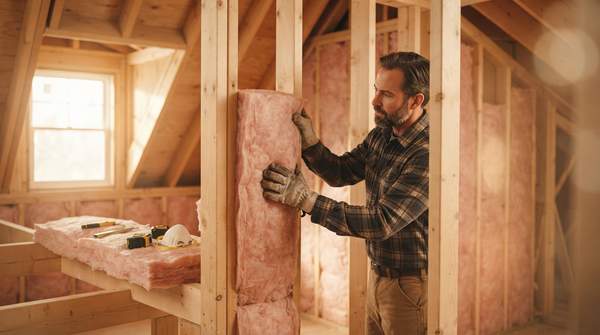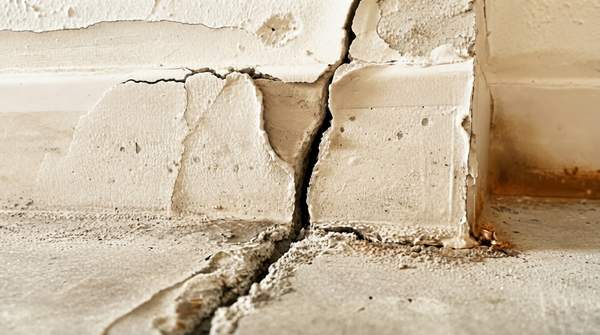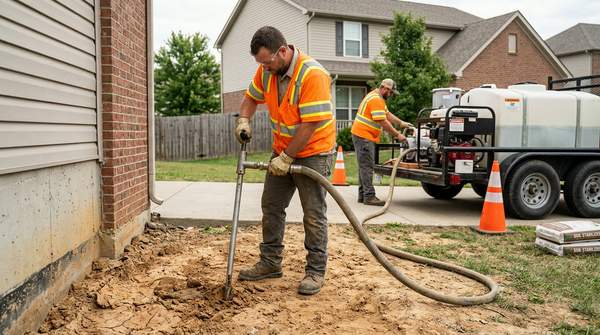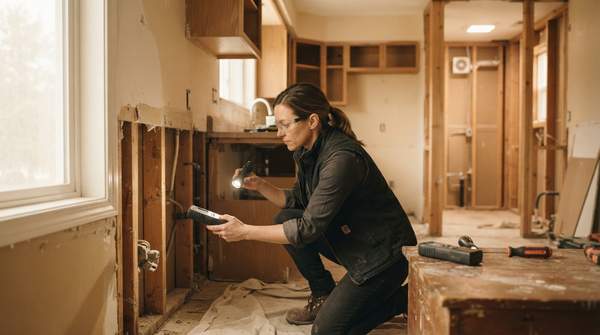
Once the water is extracted and the room has been professionally dried, the most important phase of your renovation begins — and it happens before a single new tile or cabinet is installed. Contractors and restoration specialists consistently advise that the leak source must be repaired, structural wood must be inspected for rot, and hidden mold must be found and addressed while walls and floors are still open. Skipping this sequence is how homeowners end up with beautiful new finishes covering soft subfloors, active leaks, and mold that returns within months.
Beyond Drying: Why Your Pre-Rebuild Assessment Matters
Drying a room removes the water, but it does not tell you what the water did. As Craftsman Kitchen & Bath explains, the period after demolition — with open walls or floors and a room you cannot fully use yet — is actually the easiest time to see what is behind them. Water that soaked the subfloor or framing can soften the wood and start it rotting, and mold can grow where you cannot see it, especially in the areas that stayed wet the longest.
This is also the moment to resist assumptions about where the water came from. All Work Construction, a contractor writing about bathroom remodels in Massachusetts and New Hampshire, cautions that if deterioration is concentrated around an exterior wall or window, the contractor should not assume shower plumbing is responsible simply because the damage is in a bathroom. The source needs to fit the evidence — and ventilation, waterproofing, plumbing, and the building envelope each manage moisture differently and are not interchangeable solutions.
Pre-Rebuild Readiness Checklist
Use this checklist after professional drying is complete but before any new materials go in. Each row pairs an inspection item with the signs that demand action and the condition that must be met before you rebuild. When every row is satisfied, you have a defensible "go" decision; any unresolved row is a "no-go" until corrected.
| Inspection Item | Signs of Damage | Action / Condition Before Rebuilding | Qualification |
|---|---|---|---|
| Leak source | Supply line, drain, valve, or shower pan that failed | Identify and repair the actual source — the source must fit the evidence, not the room's location | Repair must be completed before new walls and floors cover it |
| Subfloor | Soft, spongy, or sagging spots; musty odor; squeaky boards | Cut out and replace soft or rotted sections | Applies when softness is persistent and localized, indicating rot beyond surface moisture |
| Subfloor and joists | Soaked, warped, or rotted plywood or OSB | Cut damaged decking back to genuinely dry, firm wood over solid joists; sister or replace joists with structural rot | Framing damage requiring replacement warrants consulting a design professional |
| Wall framing and sheathing | Darkened plywood, staining inside walls, deteriorated material, unexpected framing condition | Address underlying issues found during demolition | Must be resolved before new finishes conceal them |
| Hidden cavities | Mold growth where water sat longest | Inspect open cavities; small surface mold is cleaned and treated, larger contamination triggers remediation | Remediation must be complete before the floor or wall is closed up |
The sequence matters as much as the items themselves: source first, structure second, mold third, finishes last. A slightly damp subfloor may be salvageable, but soaked or warped wood generally is not, according to SERVPRO's repair guidance.
Identifying and Addressing Structural Damage in Wood
The clearest sign of a compromised subfloor is what you feel underfoot. Oakwood Remodeling Group describes the telltale soft, spongy flex near a toilet or tub edge — plywood or OSB that has been damp for months or years, its glue failing and its wood fibers rotting. SERVPRO lists soft spots, sagging, musty odor, and squeaky floorboards as the warning signs that a subfloor may be waterlogged even when visible flooring looks fine.
When replacement is needed, the repair has to reach past what is visible. The damaged plywood or OSB should be cut back to sound wood over solid joists — not just the visibly blackened area, but out to where the deck is genuinely dry and firm. With the deck open, framing gets probed: sound joists with minor surface moisture are cleaned, dried, and treated, while joists with structural rot are sistered with a new member or have the damaged section cut out and replaced. LP Building Solutions, a building products manufacturer, adds two cautions: remove all rotted wood to avoid spreading mold that may not be visible in the new wood, and consult a design professional whenever floor framing damage requires replacement.
Selecting Moisture-Resistant Materials for Lasting Resilience
Once the structure is sound, material choices determine how well the room withstands the next moisture event. Paul Davis Restoration, advising homeowners remodeling after water damage, emphasizes that keeping moisture under control is key to preventing future problems, and recommends upgraded ventilation fans to prevent mold growth and improve air quality.
For surfaces, prioritize materials that do not absorb water: ceramic or porcelain tile for flooring in moisture-prone areas, chosen for durability and ease of cleaning, and moisture-resistant drywall or cement board for walls and shower surrounds, which help prevent water absorption and mold growth behind finishes. These choices matter more after a water damage event than in an ordinary remodel, because the room has already demonstrated where water goes when something fails.
Your Confident Path to a Resilient Renovation
Proceed with renovation only after all checklist items are confirmed resolved — leak repair, structural soundness, and mold absence — and after selecting appropriate moisture-resistant materials. This guide assumes water extraction and structural drying are already complete, and it is not a substitute for professional mold remediation or a structural engineering assessment; it also does not address insurance claims or repair costs.
Your measurable indicator before installing the first new finish is simple: absence of musty odors, visible mold, or soft spots in flooring and walls. If any of those three are present, the room is telling you the pre-rebuild phase is not finished — and every day you wait is far cheaper than reopening a completed renovation.
Sources
- After Water Damage: Rebuilding Your Bathroom or Kitchen — Craftsmankitchenbath
- Water Damage During a Bathroom Remodel: What Happens Next? — All Work Construction
- Water-Damaged Subfloor Repair: A Complete Guide — Servpro
- Replacing a Water-Damaged Bathroom Subfloor — Diagnosis, Scope & Cost — Oakwoodremodel
- How to Repair Water Damaged Subfloor — LPCORP
- Small Bathroom Remodel Ideas After Water Damage - Paul Davis Restoration of Ocean & Monmouth Counties